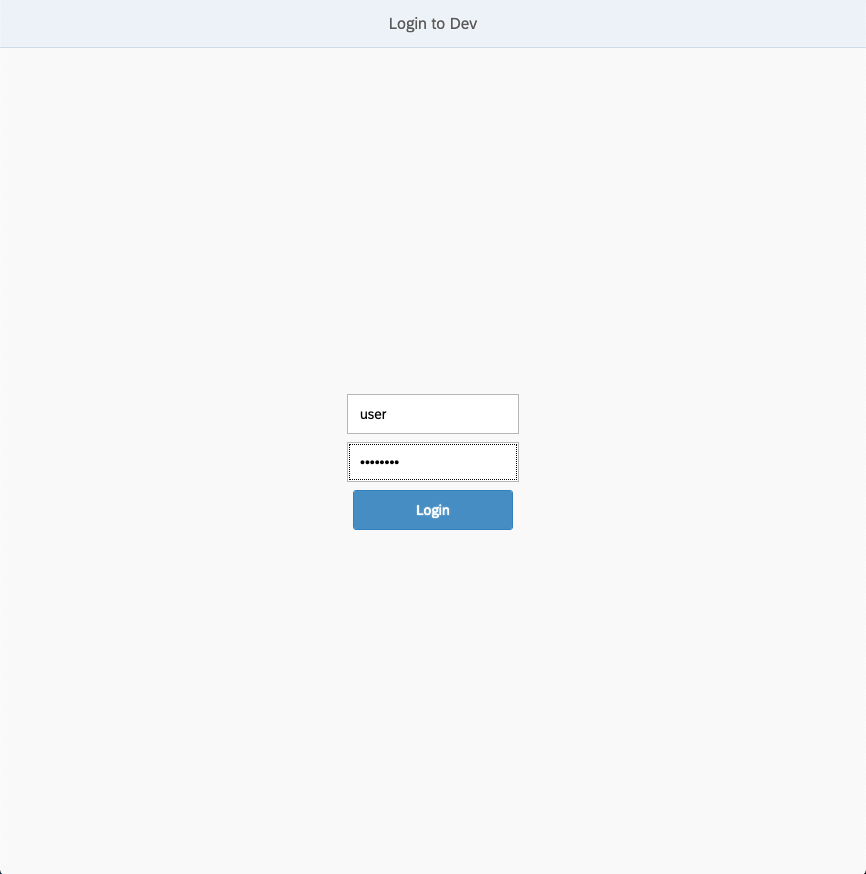
First of all, to run anything we will need a dataset and its corresponding schema defined in Menas UI. Standardization and Conformance spark jobs will then take this information from Menas when run. First, let us go to the URL where it is deployed. There you will be greeted by a login window. If you made no changes to the application.conf your default login is user for username and changeme for password. Otherwise log in with the credentials you have chosen.
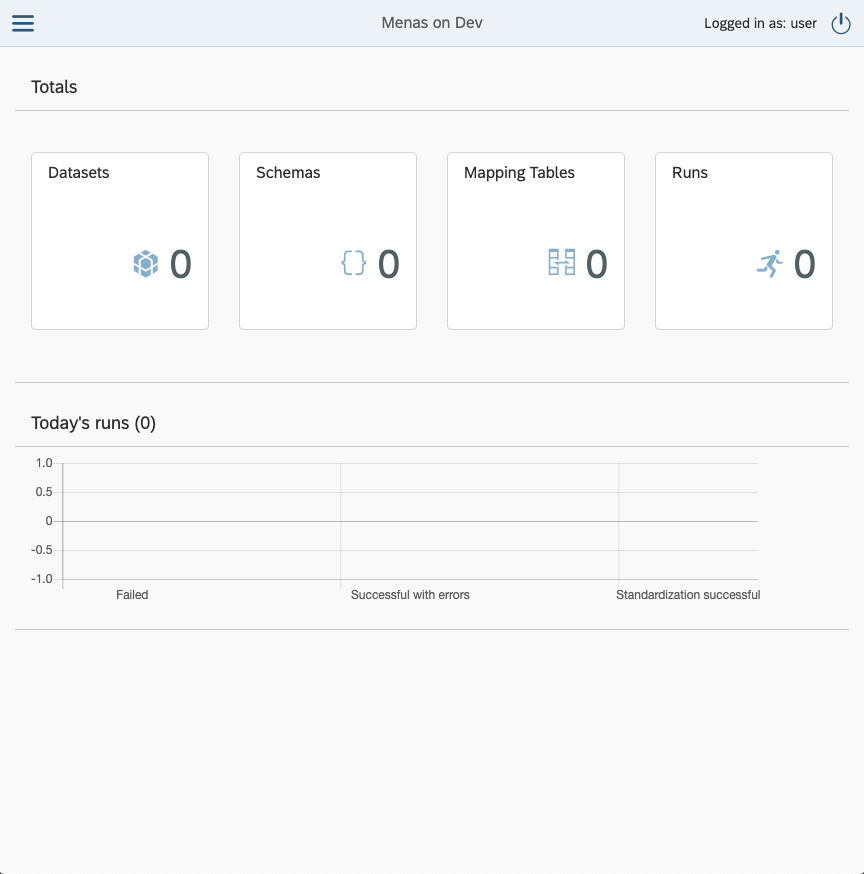
After logging in, you should be greeted by the dashboard. In our case we have no entities created yet so everything shows 0, but after we create something numbers will change and after we run something we will be even able to see changes in Today’s runs.
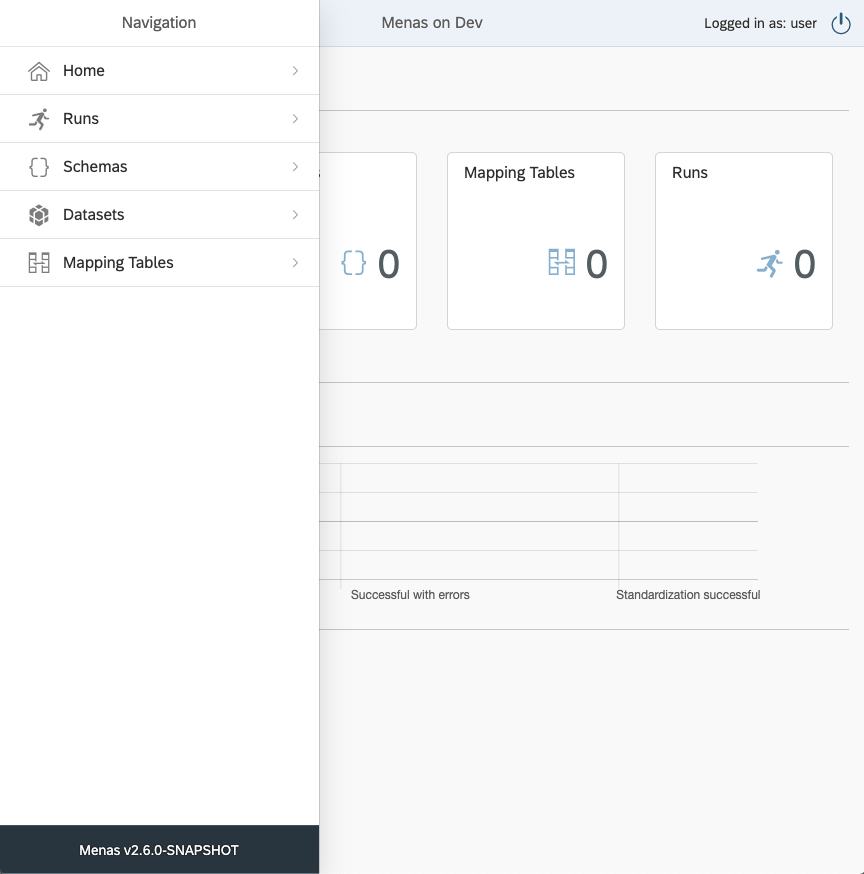
In the top left corner of our current view we can see a button usually called hamburger menu, this will open a left pane with Navigation. This navigation can be opened by clicking any of the squares from the dashboard as well, but these will lead you directly to the selected items active entities. Also this menu will be visible always in case of wider screens.
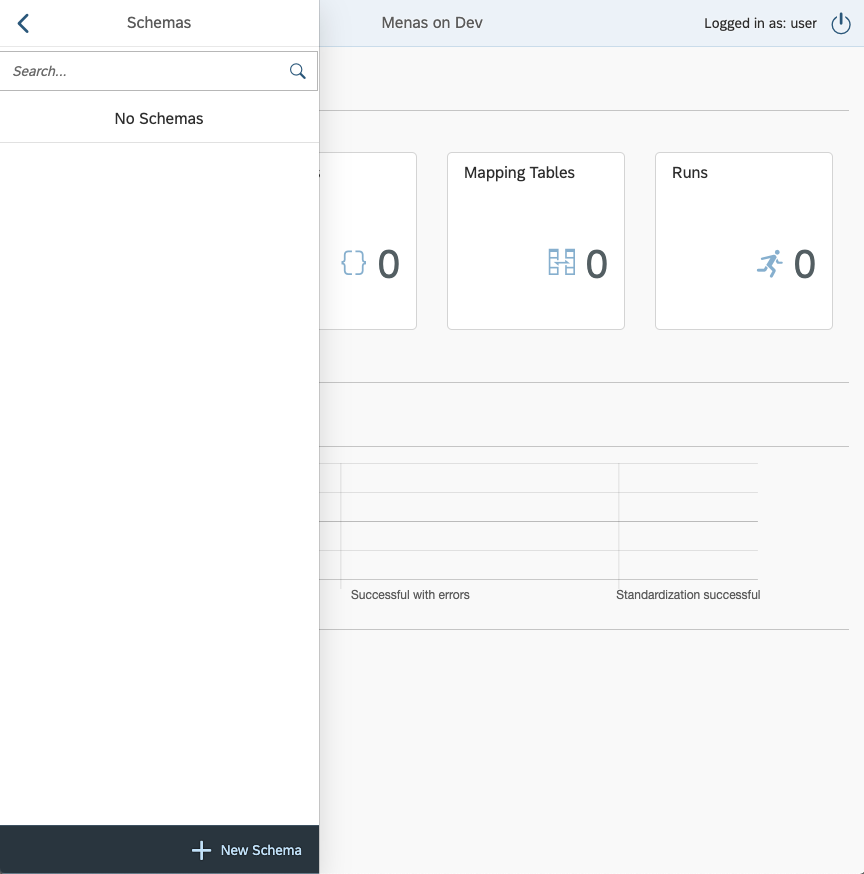
The first thing we need to do to be able to run Standardization and Conformance is creating a data schema for the job. The schema represents the data, its types, defaults, etc. If we click on the schema in the navigation pane it will open up all schemas view. This view will be currently empty and at the bottom there is a button + New Schema. Pressing the button will lead to a modal window showing up.
Creation of a new schema has only Name and Description. Names in all Menas models must always be unique and a combination of Name and Version will always provide a unique identifier of an object.
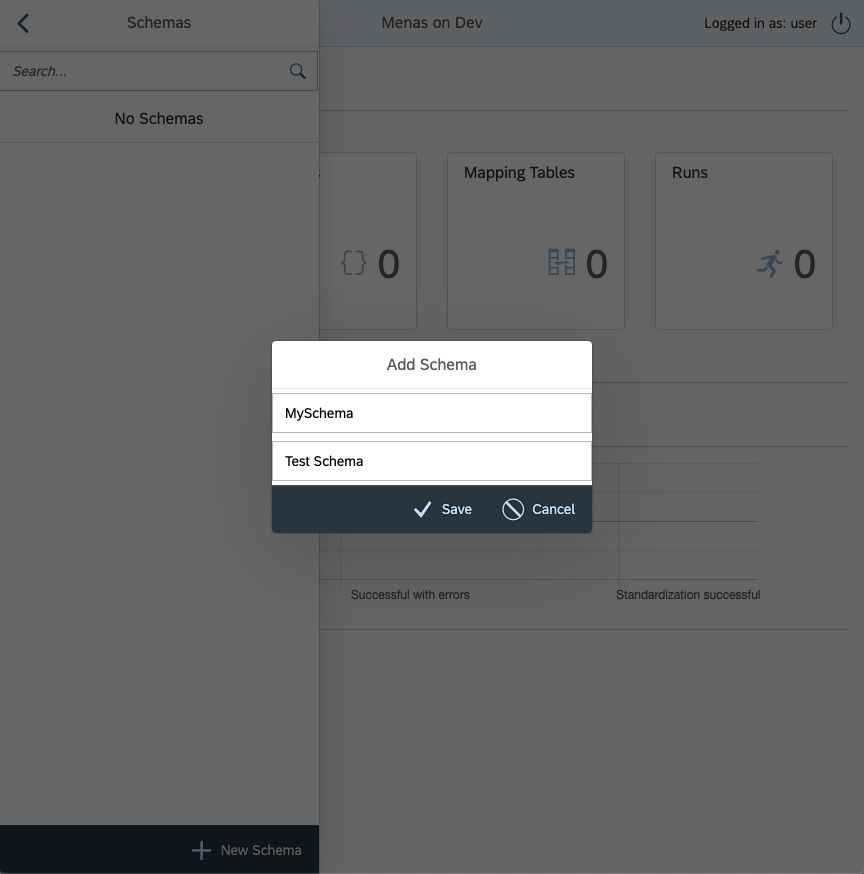
Clicking on the Save button, Menas will validate the Name inputted and save the new object.
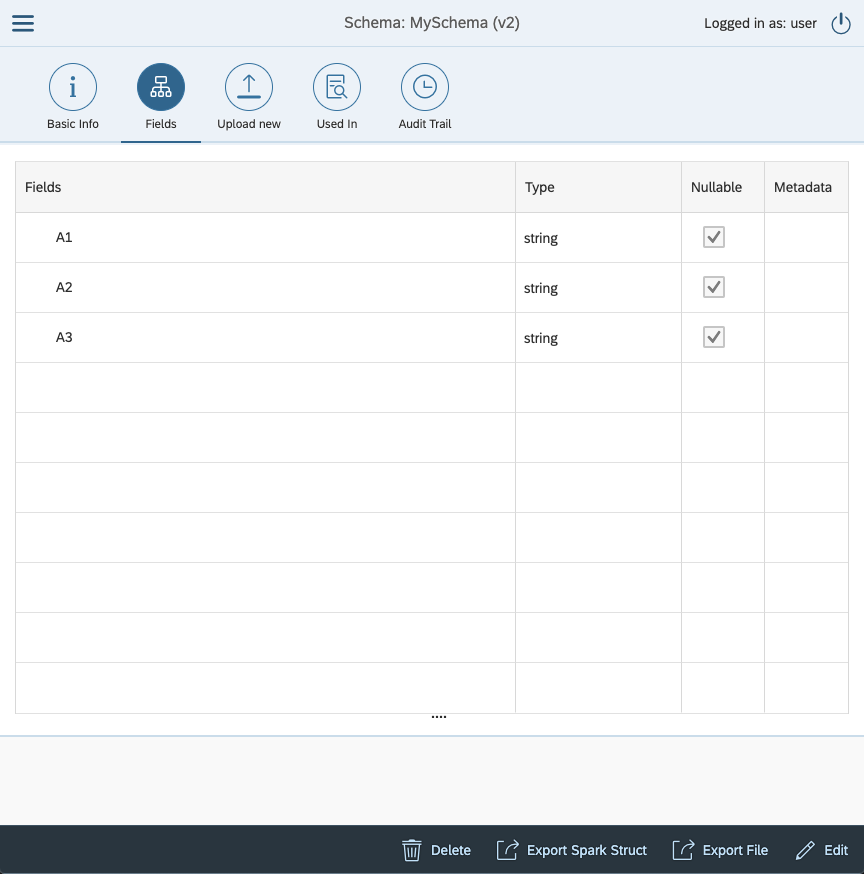
Now we need to input a schema. Schemas can be uploaded as many types. Spark Struct, Cobol Copybook or Avro Schema. Choose what you like the most and upload your schema. For test purposes here, we will use a simple Spart Struct schema:
{
  "type" : "struct",
  "fields" : [ {
    "name" : "A1",
    "type" : "string",
    "nullable" : true,
    "metadata" : { }
  }, {
    "name" : "A2",
    "type" : "string",
    "nullable" : true,
    "metadata" : { }
  }, {
    "name" : "A3",
    "type" : "string",
    "nullable" : true,
    "metadata" : { }
  } ]
}
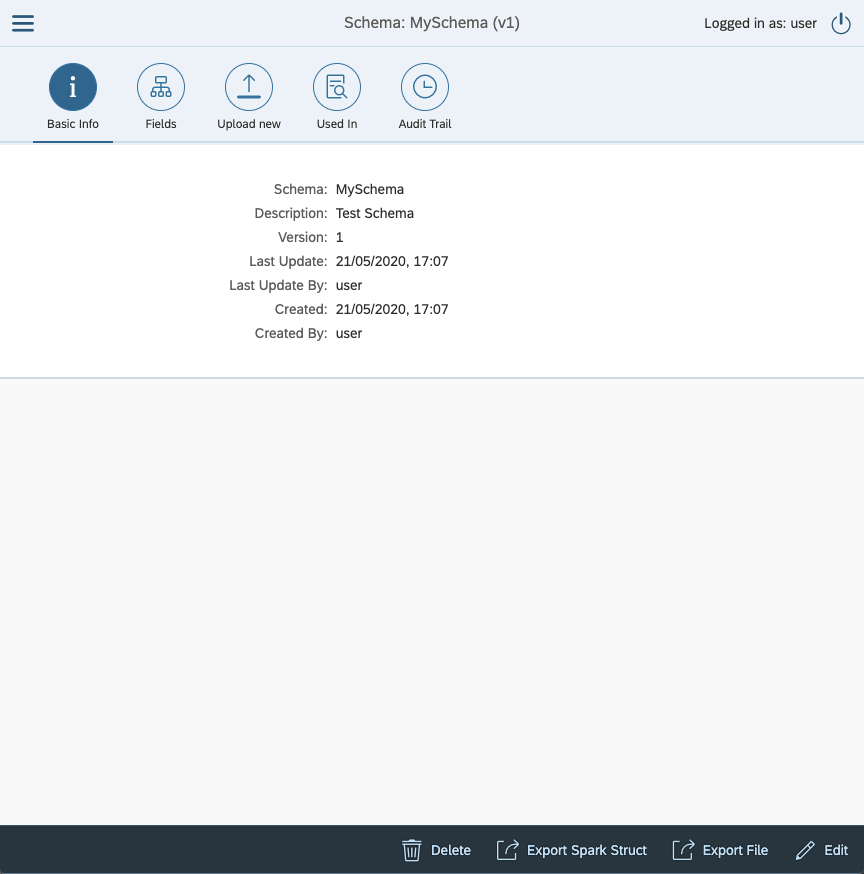
For more rules about schemas check the [this][schema] schema section. Now click the tab Upload New.
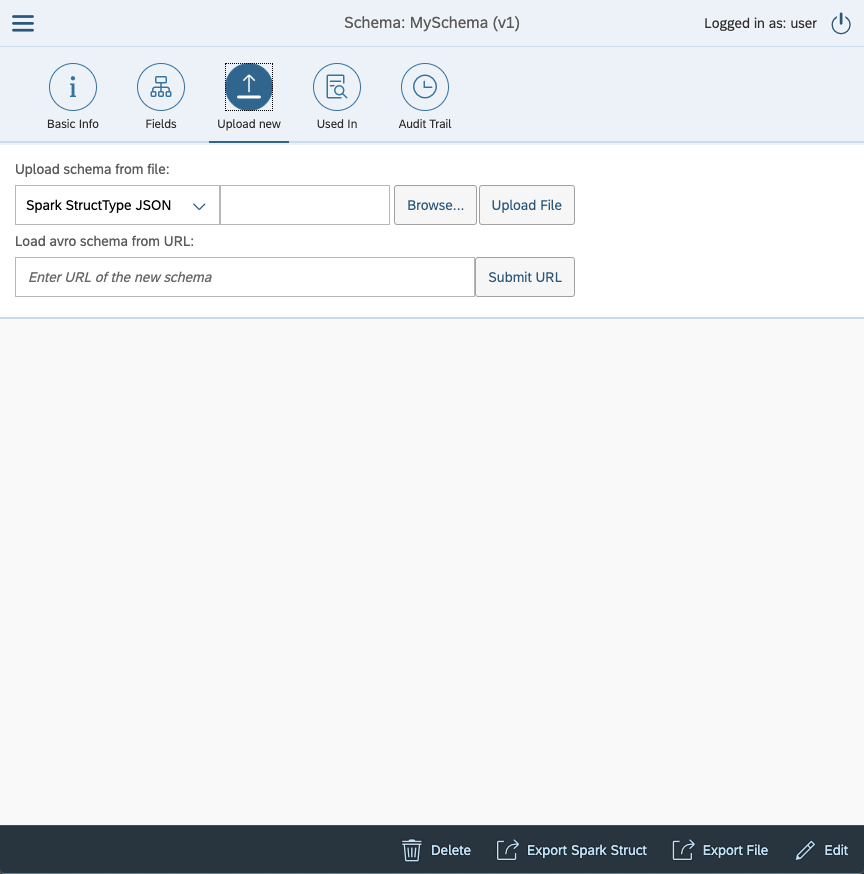
Click button Browse... to select schema file from your local disk. When selected click upload. This will validate inputed schema and if everything is allright, it will upload the schema. You will be moved back to Basic Info tab and you can see that your Version rose by 1. If you click the tab Fields you will se your new schema.
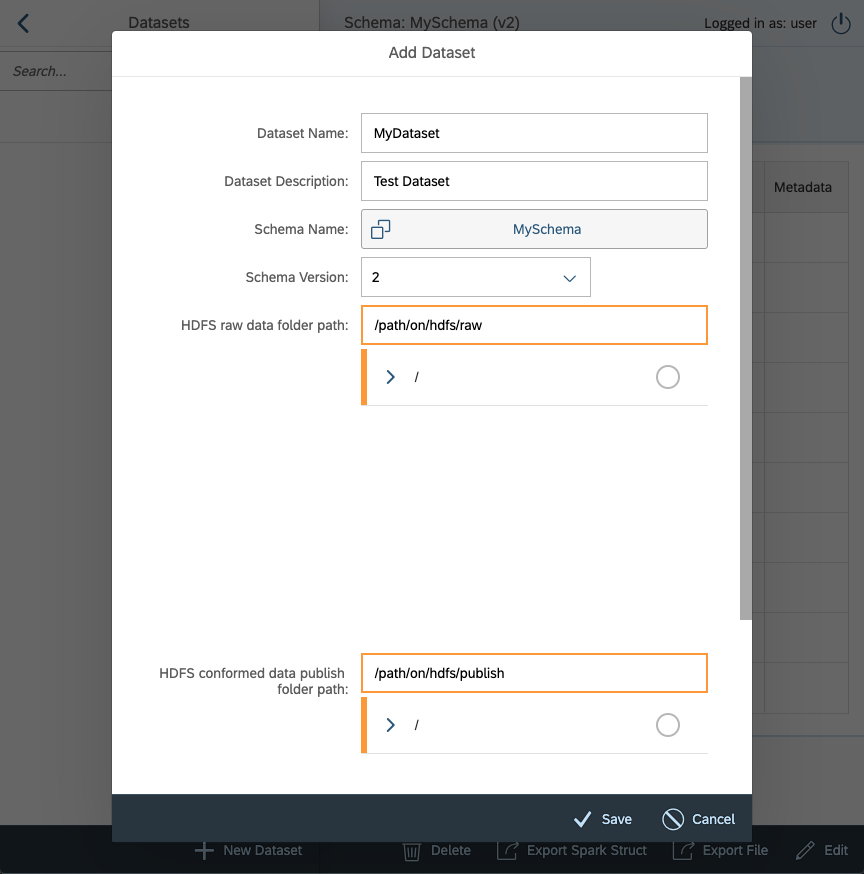
Moving on to creating a dataset. Datasets in Menas represent a general location where your datasets of the same type will be periodically landed. You will have to specify which schema the data comply with, where they are and where they should be when Standardization and Conformance are finished.
Creating new Dataset goes the same way as the schema. We open the left menu pane and select Dataset and then click + New dataset.
We will fill in Name and Description same as in Schema, then we will have to assign a schema. When you click on Select schema, find the schema you created and select it. It will automatically select the highest version, but in a combobox bellow you can choose which schema version you would like to use.
Then there are raw and publish HDFS folder paths. These point to where your data will land in the future. The raw folder path denotes the input location of the data before they go through Standardization and Conformance while the publish folder path marks the target location the data is saved after the process. These paths are not full paths to the data. They are only the first part of the data paths. The second part is automatically generated by the report-date and report-version of the job you will be running. For now, it suffices to say that the path to your data is <raw_path>/<report-year>/<report-month>/<report-day>/v<report-version>/*. This allows you to have easy daily ingestions of data and even if you need to have a second ingestion you do not need to overwrite your data.
Don’t mind the orange color. It only means the paths don’t exist at the moment of creating the Dataset
After clicking on Save, we have both the Dataset and accompanying Schema ready and we are able to run Standardization and Conformance.